



High-rise silicone sealant replacement is needed when facade joints can no longer accommodate movement or keep weather out because the sealant has cracked, shrunk, hardened or separated from the adjoining surface. A durable replacement is not a fresh bead applied over the old joint. The failed material must be assessed, removed, the joint prepared and a compatible sealant installed under suitable conditions. On a tall building, the access plan, public protection and quality-control record are as important as the application itself.
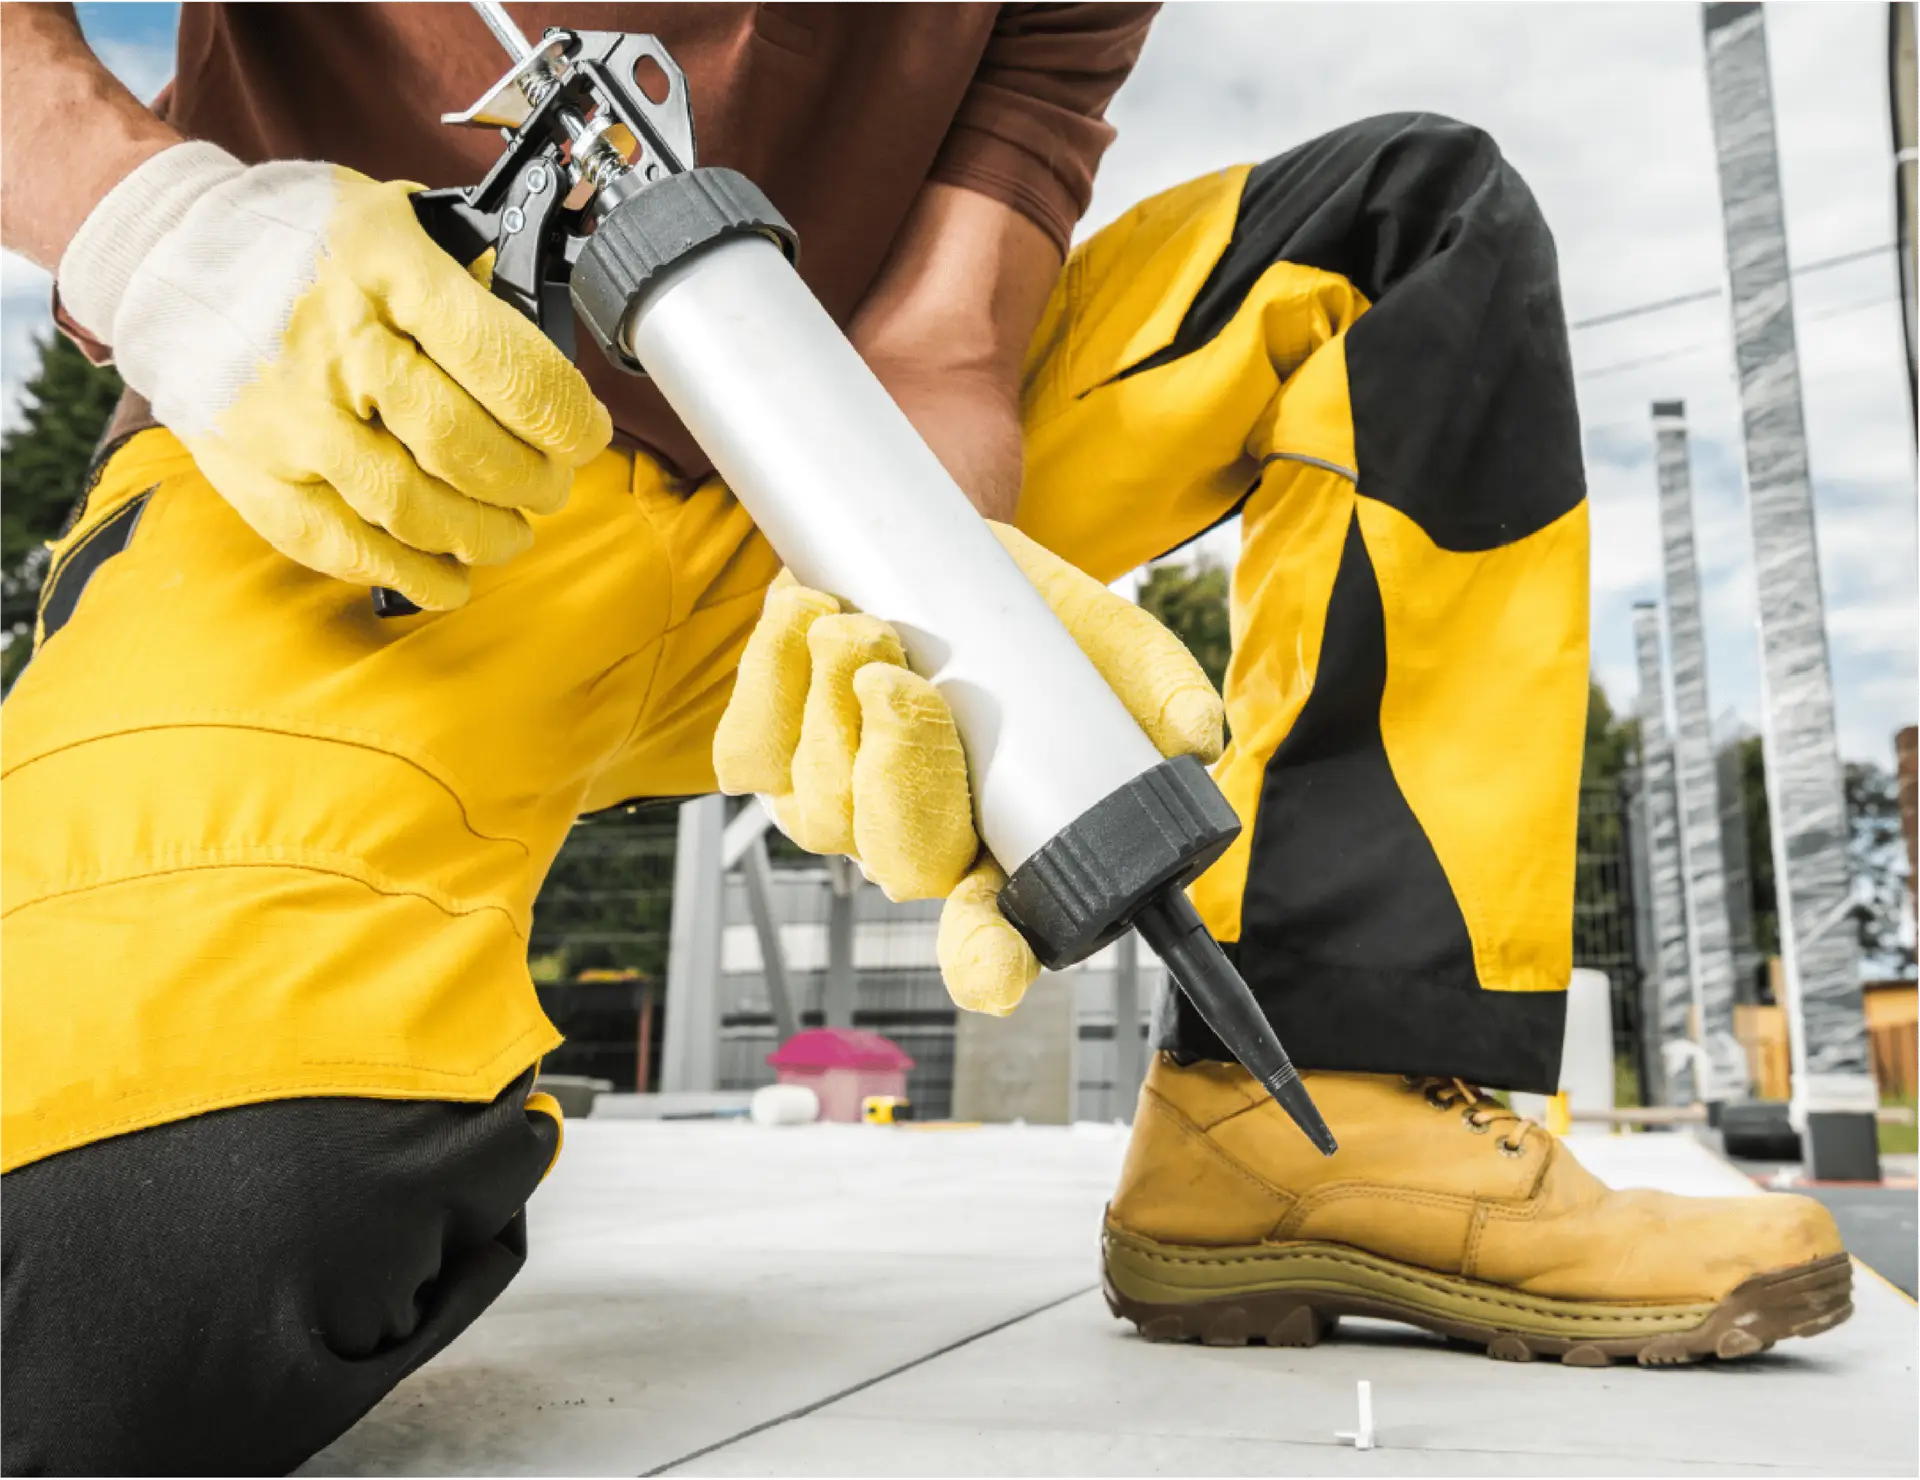
This silicone sealant replacement guide is for building owners, facility managers, property managers, JMB and MC committees in Malaysia. It explains how to recognise failure, what a proper replacement scope should include and which questions to ask before approving facade sealant work. It is general information; the actual specification must follow the facade system, substrate, joint movement and sealant manufacturer’s requirements.
When Does High-Rise Silicone Sealant Replacement Become Necessary?
Sealant does not have to fall out completely before it stops performing. Early failure often appears as a narrow split, a lifted edge or a gap at a corner. From inside the building, the first clue may be a water mark around a window after wind-driven rain. A close inspection is needed because the most visible defect is not always the point where water enters.
| Visible sign | What it may indicate | Practical next step |
|---|---|---|
| Sealant pulling away from one joint face | Adhesion failure, contamination, poor preparation or incompatible primer | Inspect the full joint length and adjoining substrate before specifying replacement |
| A split through the middle of the bead | Cohesive failure, excessive movement, unsuitable joint geometry or aged material | Check joint width, depth, backing and expected movement |
| Cracking or surface crazing | Weathering, UV exposure, hardening or chemical incompatibility | Compare exposed and sheltered elevations to understand the pattern |
| Shrinkage or gaps at corners | Loss of elasticity, installation defect or long-term movement | Map recurring locations and review the original joint detail |
| Soft, sticky or discoloured sealant | Material degradation or contact with an incompatible coating, cleaner or sealant | Identify existing materials before selecting a replacement product |
| Recurring leaks around windows | Failed perimeter joints, gaskets, drainage paths, flashing or another interface | Trace and test the water path instead of sealing every visible gap |
| Repeated patches over old sealant | A temporary repair that may not bond reliably to the original material | Remove a sample area and inspect the underlying joint condition |
A single failed section does not automatically mean every joint needs replacement. Equally, repeated patching can become poor value when the same material has hardened across several elevations. The decision should follow evidence: defect distribution, leak history, exposure, facade age and the condition of adjacent joints.
Understand the Failure Before Choosing the Repair
High-rise silicone sealant replacement works best when the failure mode is understood first. Adhesive failure occurs when the sealant detaches from the glass, aluminium, concrete, stone or coating at the side of the joint. Cohesive failure is a tear within the sealant itself. Both can look similar from the ground, but they point to different causes.
Joint design matters too. Sealant needs to stretch and compress as facade materials move with heat, wind and building movement. If the bead is too deep, bonded on three sides or installed over unsuitable backing, stress concentrates at the joint edges. Manufacturer guidance commonly uses backer rod or bond-breaker tape to control depth and prevent three-sided adhesion. Sika’s technical bulletin on sealant-joint performance illustrates why correct joint geometry affects adhesion and movement.
Water leakage also needs a wider view. A failed silicone joint may be the cause, but leaks can also come from blocked weep holes, damaged gaskets, cracks, flashings, roof interfaces or drainage paths above the visible stain. This is why Vertical Pro connects sealant work with facade maintenance and inspection rather than treating every leak as a caulking problem.
The High-Rise Silicone Sealant Replacement Process
A well-defined method statement helps building teams compare quotations on the same basis. The following sequence is typical, but the contractor should adapt it to the facade, product data sheet and actual site conditions.
1. Survey the joints and leak history
Start with marked elevations, window references and records of interior leaks. Note whether problems occur during ordinary rain, prolonged rainfall or storms from a particular direction. Close-access inspection should record adhesion loss, tearing, hardening, patching, joint dimensions and substrate condition.
Where the source is uncertain, staged water testing may be appropriate. Testing should isolate one area at a time; soaking a large elevation can reproduce a leak without identifying the entry point.
2. Confirm access, anchors and site controls
High-rise silicone sealant replacement may use rope access, a building maintenance unit, suspended platform, boom lift or scaffolding. Suitability depends on roof access, anchors, building geometry, work duration, tools, materials and the area that must be isolated below.
The access plan should cover supervision, weather limits, dropped-object controls, pedestrian management and rescue arrangements. Malaysia’s Department of Occupational Safety and Health advises that work at height should consider weather, safe access, suitable equipment, falling-object protection and emergency planning in its official work-at-height guidance.
3. Remove the failed sealant
New silicone should not simply bridge old, deteriorated material. The existing bead is cut out carefully without damaging glass edges, coated frames, stone arrises or adjacent waterproofing. Residue on the joint faces is then removed using methods approved for the substrate and replacement system.
This stage often reveals the real condition. Backer rod may be missing, compressed too deeply or contaminated. Joint edges may be damp, coated with old primer or affected by corrosion. Those findings should be recorded before they disappear beneath new sealant.
4. Prepare clean, dry and sound joint faces
Surface preparation is one of the strongest predictors of adhesion. Dust, moisture, oil, loose coating and old sealant residue can all weaken the bond. The cleaning method must suit the substrate; a solvent safe for one finish may stain, soften or dull another.
A small adhesion test or mock-up is useful when the existing material is uncertain. It also helps confirm whether primer is required. Product selection and preparation should follow the sealant manufacturer’s current data rather than a generic instruction reused across every building.
5. Reinstate backing and joint geometry
Backer rod supports the fresh bead, controls depth and prevents bonding at the base of the joint. Where a backer rod cannot be used, a suitable bond breaker may be specified. The objective is a joint that bonds to the two sides and remains free to move through its centre section.
Do not assume that every existing joint has suitable dimensions. If the opening is irregular, too narrow or deeper than expected, the technical team should resolve the detail rather than hide it with excess sealant.
6. Apply, tool and finish the new sealant
The joint edges may be masked to protect surrounding finishes. Sealant is applied continuously so it wets both joint faces without leaving voids. Tooling shapes the bead, supports contact at the sides and produces a consistent finish. Cosmetic neatness matters, but it cannot compensate for poor preparation underneath.
The replacement material must be compatible with the substrate, existing coatings, gaskets and any adjoining sealants. Colour, movement capability and weather resistance are part of the specification, not decisions to make after technicians arrive on site.
7. Protect the curing period
Fresh sealant needs time and suitable conditions to cure. Rain, surface moisture, dust, movement and premature cleaning can affect the result. The contractor should state how weather will be monitored, what happens if rain interrupts the work and when the joint can be exposed to normal service.
Cure time varies by product, bead dimensions, temperature and humidity. Avoid promising one universal duration. Use the selected manufacturer’s data and actual site conditions.
8. Inspect, photograph and close out the work
Quality control should be recorded by elevation and floor. Check continuity, adhesion at the edges, bead profile, corners, penetrations and transitions. Photographs should show location as well as close detail. If water testing formed part of the agreed scope, the result and test sequence should be documented.
A close-out report gives building management a baseline for future inspections. It should identify completed areas, products used, limitations, outstanding defects and any adjacent facade issue that was outside the sealant scope.
Why Applying New Silicone Over Old Sealant Often Fails
An overlay can look convincing for a short period because it covers the crack and restores a smooth surface. The problem is underneath. The new bead may be bonding to weathered sealant rather than a prepared joint face, and the original material may continue separating from the substrate.
Overlay work can also change the joint geometry, bridge drainage openings or trap moisture. There are situations where a manufacturer-approved remedial detail is suitable, but it should be a deliberate specification supported by adhesion testing, not the default shortcut.
Localised Repair or Full Replacement Programme?
Localised high-rise silicone sealant replacement can be sensible when failure is isolated, the surrounding joints remain elastic and well bonded, and the leak path is confirmed. It limits disruption and directs the budget to the actual defect.
A phased or broader programme may be more reliable when multiple elevations show the same hardening, shrinkage or adhesion loss; when the original sealant has reached a similar age throughout; or when reactive patches keep failing. Phasing can prioritise elevations with active leaks, strong weather exposure, sensitive interior uses or the greatest public risk.
| Condition | Likely planning approach | What to verify |
|---|---|---|
| One damaged joint after local work | Targeted repair | Nearby sealant condition and compatibility with the existing system |
| Recurring leaks at the same window line | Investigate the complete interface | Perimeter sealant, gaskets, drainage, flashing and joints above |
| Similar cracking across one exposed elevation | Elevation-based replacement | Weather exposure, age pattern and access efficiency |
| Widespread adhesion loss on several sides | Phased building-wide programme | Failure sampling, specification, priorities and budget sequence |
| Leaks continue after sealant repairs | Reopen the diagnosis | Hidden drainage, facade interfaces, cracks and test method |
What Affects the Cost?
The cost of high-rise silicone sealant replacement depends on the amount of sealant to remove, joint length and dimensions, facade height and geometry, access method, substrate condition, testing, site controls, product specification and reporting requirements. A small number of difficult joints can take more planning than a larger but uniform elevation.
Quotations should make assumptions visible. Check whether they include removal and disposal, preparation, primer, backing material, sealant, masking, access, protection below, weather delays, testing, photographs and defect reporting. An apparently low rate is difficult to compare if essential steps are excluded.
Questions to Ask Before Approving the Work
- What evidence shows that the silicone joint is the leak source?
- Is the proposed scope localised, elevation-based or building-wide, and why?
- How will the existing sealant and residue be removed without damaging finishes?
- What substrate, coating and gasket compatibility has been checked?
- Will a primer, backer rod or bond-breaker tape be required?
- How will joint width, depth and three-sided adhesion be controlled?
- What access system, exclusion zone and rescue arrangement are proposed?
- What weather conditions will stop application?
- How long must the sealant cure before exposure or testing?
- What photographs, test records and warranty information will be provided?
These questions help separate a complete high-rise silicone sealant replacement method from a simple surface-patching quotation. For a related overview of sealant and exterior maintenance services, visit Facade Maintenance by Vertical Pro.
Frequently Asked Questions
How do I know if facade silicone needs replacement?
Look for separation at joint edges, splitting through the bead, hardening, shrinkage, gaps, repeated patch failure or leaks linked to the joint. A close inspection should confirm whether the silicone is the cause and whether failure is localised or widespread.
Can new silicone be applied over old silicone?
It should not be treated as the normal replacement method. New sealant may not bond reliably to aged material, and an overlay can conceal poor adhesion, unsuitable backing or moisture. Any overlay detail should be manufacturer-approved and supported by testing.
Can rope access technicians replace high-rise sealant?
Rope access can be suitable for targeted high-rise silicone sealant replacement where the building, anchors, geometry, materials and rescue plan allow it. Some scopes need a platform, boom lift or scaffolding instead. The access method should follow a site assessment.
How long does facade silicone take to cure?
There is no universal time. Cure depends on the selected product, bead dimensions, temperature, humidity and exposure. The contractor should follow the current product data sheet and protect the joint for the stated period.
Will replacing silicone stop every window leak?
No. Window leakage may involve gaskets, drainage channels, flashings, cracks, glazing interfaces or water entering above the window. Sealant replacement works when the failed joint is part of the confirmed water path.
How often should high-rise silicone be inspected?
Inspection frequency depends on facade type, exposure, age, leak history and previous repairs. Building teams can record visible changes routinely, while close-access reviews should be planned according to condition and risk. Inspect earlier when leaks or joint changes appear.
Can only the leaking elevation be replaced?
Yes. A localised silicone sealant replacement scope is reasonable when evidence shows the problem is confined and adjacent joints remain serviceable. If the same age-related failure appears elsewhere, a phased programme may provide better value than repeated emergency repairs.
Request a Site Assessment
Vertical Pro Sdn Bhd provides high-rise silicone sealant replacement, facade maintenance, waterproofing support and working-at-height access for suitable commercial and residential buildings in Malaysia. A site assessment can define the likely failure, access method, test requirements and a practical repair scope. Review Vertical Pro’s building waterproofing and silicone service or contact the team to discuss the building and current symptoms.
Prepared by Vertical Pro Sdn Bhd for building owners, facility managers, property managers, JMB and MC committees. This article provides general building-maintenance information. Product selection, joint design, access and repair decisions should be confirmed for the actual facade and site conditions.